How to install PhpMyAdmin + Nginx in Mac OS X
In previous post I’ve talked about installing MySQL in Mac OS X.
Today I want to talk about PhpMyAdmin. Tool which help work with MySQL databases.
Here steps how to install it and configure under Nginx webserver.
1. Create virtualhost for PhpMyAdmin.
Create /usr/local/etc/nginx/sites-available/phpmyadmin file with next content
server {
    listen   80;

    server_name  phpmyadmin;

    root       /var/www/phpmyadmin/;

    index index.php index.html index.htm;

    access_log  /usr/local/etc/nginx/logs/phpmyadmin.access.log;
    error_log  /usr/local/etc/nginx/logs/phpmyadmin.error.log;

    location ~ \.php$ {
        try_files      $uri = 404;
        fastcgi_pass   127.0.0.1:9000;
        fastcgi_index  index.php;
        fastcgi_param  SCRIPT_FILENAME $document_root$fastcgi_script_name;
        include        fastcgi_params;
    }

    error_page  404     /404.html;
    error_page  403     /403.html;
}
Edit hosts for PhpMyAdmin
Open /etc/hosts file and add next line
127.0.0.1 phpmyadmin
/etc/hosts file should looks like this:
##
# Host Database
#
# localhost is used to configure the loopback interface
# when the system is booting.  Do not change this entry.
##
127.0.0.1	localhost
127.0.0.1	phpmyadmin
255.255.255.255	broadcasthost
::1             localhost
Make symbolic link to sites-avalable/phpmyadmin into sites-enabled
sudo ln -s /usr/local/etc/nginx/sites-available/phpmyadmin /usr/local/etc/nginx/sites-enabled/phpmyadmin
Save files and restart Nginx
sudo nginx -s stop
sudo nginx
2. Download PhpMyAdmin
Link for downloading https://www.phpmyadmin.net/downloads/

3. Put PhpMyAdmin into Nginx document root
Unzip phpmyadmin archive into /var/www directory
cd <folder with downloadded zip>
unzip phpMyAdmin-4.7.5-all-languages.zip -d /var/www
Rename /var/www/phpMyAdmin-4.7.5-all-languages into /var/www/phpmyadmin
cd /var/www/
mv phpMyAdmin-4.7.5-all-languages phpmyadmin
4. Launch/restart nginx and start php-fpm
sudo nginx -s stop
sudo nginx
sudo brew services start php71
5. Test phpmyadmin VirtualHost
curl -IL http://phpmyadmin
Output should be like this:
HTTP/1.1 200 OK
Server: nginx/1.12.1
Date: Sun, 26 Nov 2017 22:12:23 GMT
Content-Type: text/html; charset=utf-8
Connection: keep-alive
X-Powered-By: PHP/7.1.11
Set-Cookie: pmaCookieVer=5; expires=Tue, 26-Dec-2017 22:12:22 GMT; Max-Age=2592000; path=/; HttpOnly
Set-Cookie: pma_lang=en; expires=Tue, 26-Dec-2017 22:12:23 GMT; Max-Age=2592000; path=/; HttpOnly
Set-Cookie: pma_collation_connection=utf8mb4_unicode_ci; expires=Tue, 26-Dec-2017 22:12:23 GMT; Max-Age=2592000; path=/; HttpOnly
Set-Cookie: phpMyAdmin=c3acgrslgm88jlmvl2ovnoh2eq; path=/; HttpOnly
X-ob_mode: 1
X-Frame-Options: DENY
Referrer-Policy: no-referrer
Content-Security-Policy: default-src 'self' ;script-src 'self' 'unsafe-inline' 'unsafe-eval' ;;style-src 'self' 'unsafe-inline' ;img-src 'self' data:  *.tile.openstreetmap.org;
X-Content-Security-Policy: default-src 'self' ;options inline-script eval-script;referrer no-referrer;img-src 'self' data:  *.tile.openstreetmap.org;
X-WebKit-CSP: default-src 'self' ;script-src 'self'  'unsafe-inline' 'unsafe-eval';referrer no-referrer;style-src 'self' 'unsafe-inline' ;img-src 'self' data:  *.tile.openstreetmap.org;
X-XSS-Protection: 1; mode=block
X-Content-Type-Options: nosniff
X-Permitted-Cross-Domain-Policies: none
X-Robots-Tag: noindex, nofollow
Expires: Sun, 26 Nov 2017 22:12:23 +0000
Cache-Control: no-store, no-cache, must-revalidate,  pre-check=0, post-check=0, max-age=0
Pragma: no-cache
Last-Modified: Sun, 26 Nov 2017 22:12:23 +0000
Vary: Accept-Encoding
6. Test PhpMyAdmin in browser
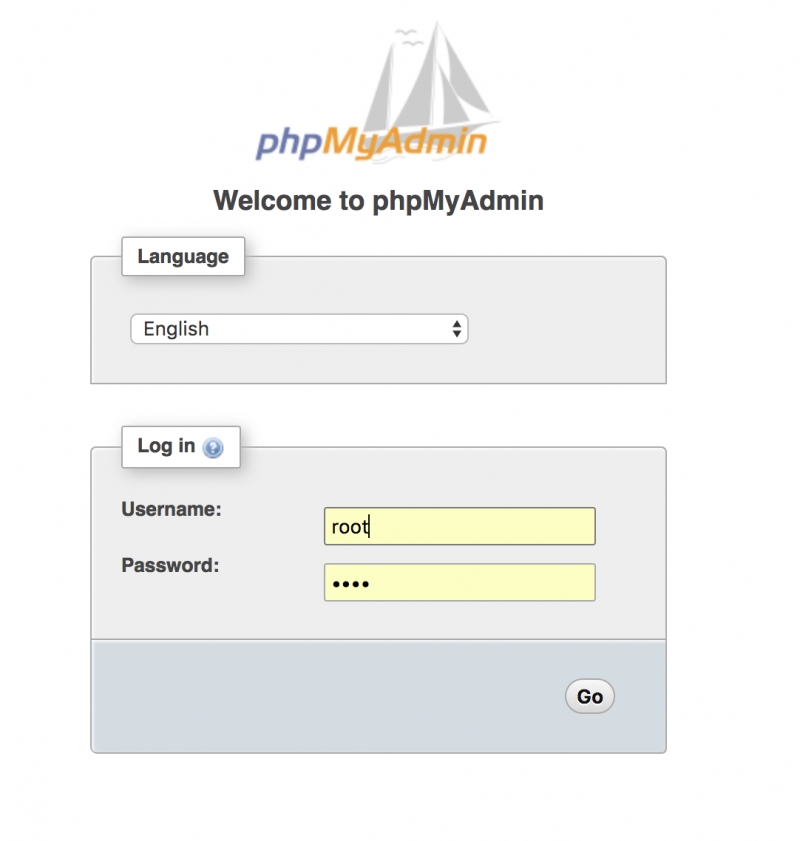
Open http://phpmyadmin in your browser. You should see next page:

7. Login into PhpMyAdmin.
Username: root
Password: Which you have created for ROOT MySQL user during MySQL installation process.
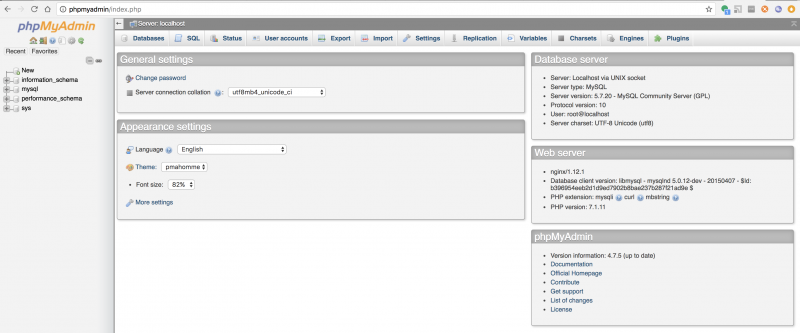
You will see next page:

PhpMyAdmin installed. Happy codding!


2 Comments
Sameer · 23 September, 2018 at 09:50
Hi done all steps correctly but after if i got to http://phpmyadmin url still the welcome page of nginx only showing.
Abhi · 5 March, 2020 at 18:18
I am getting a warining that says
nginx: [warn] conflicting server name “phpmyadmin” on 0.0.0.0:80, ignored
How can I fix it?